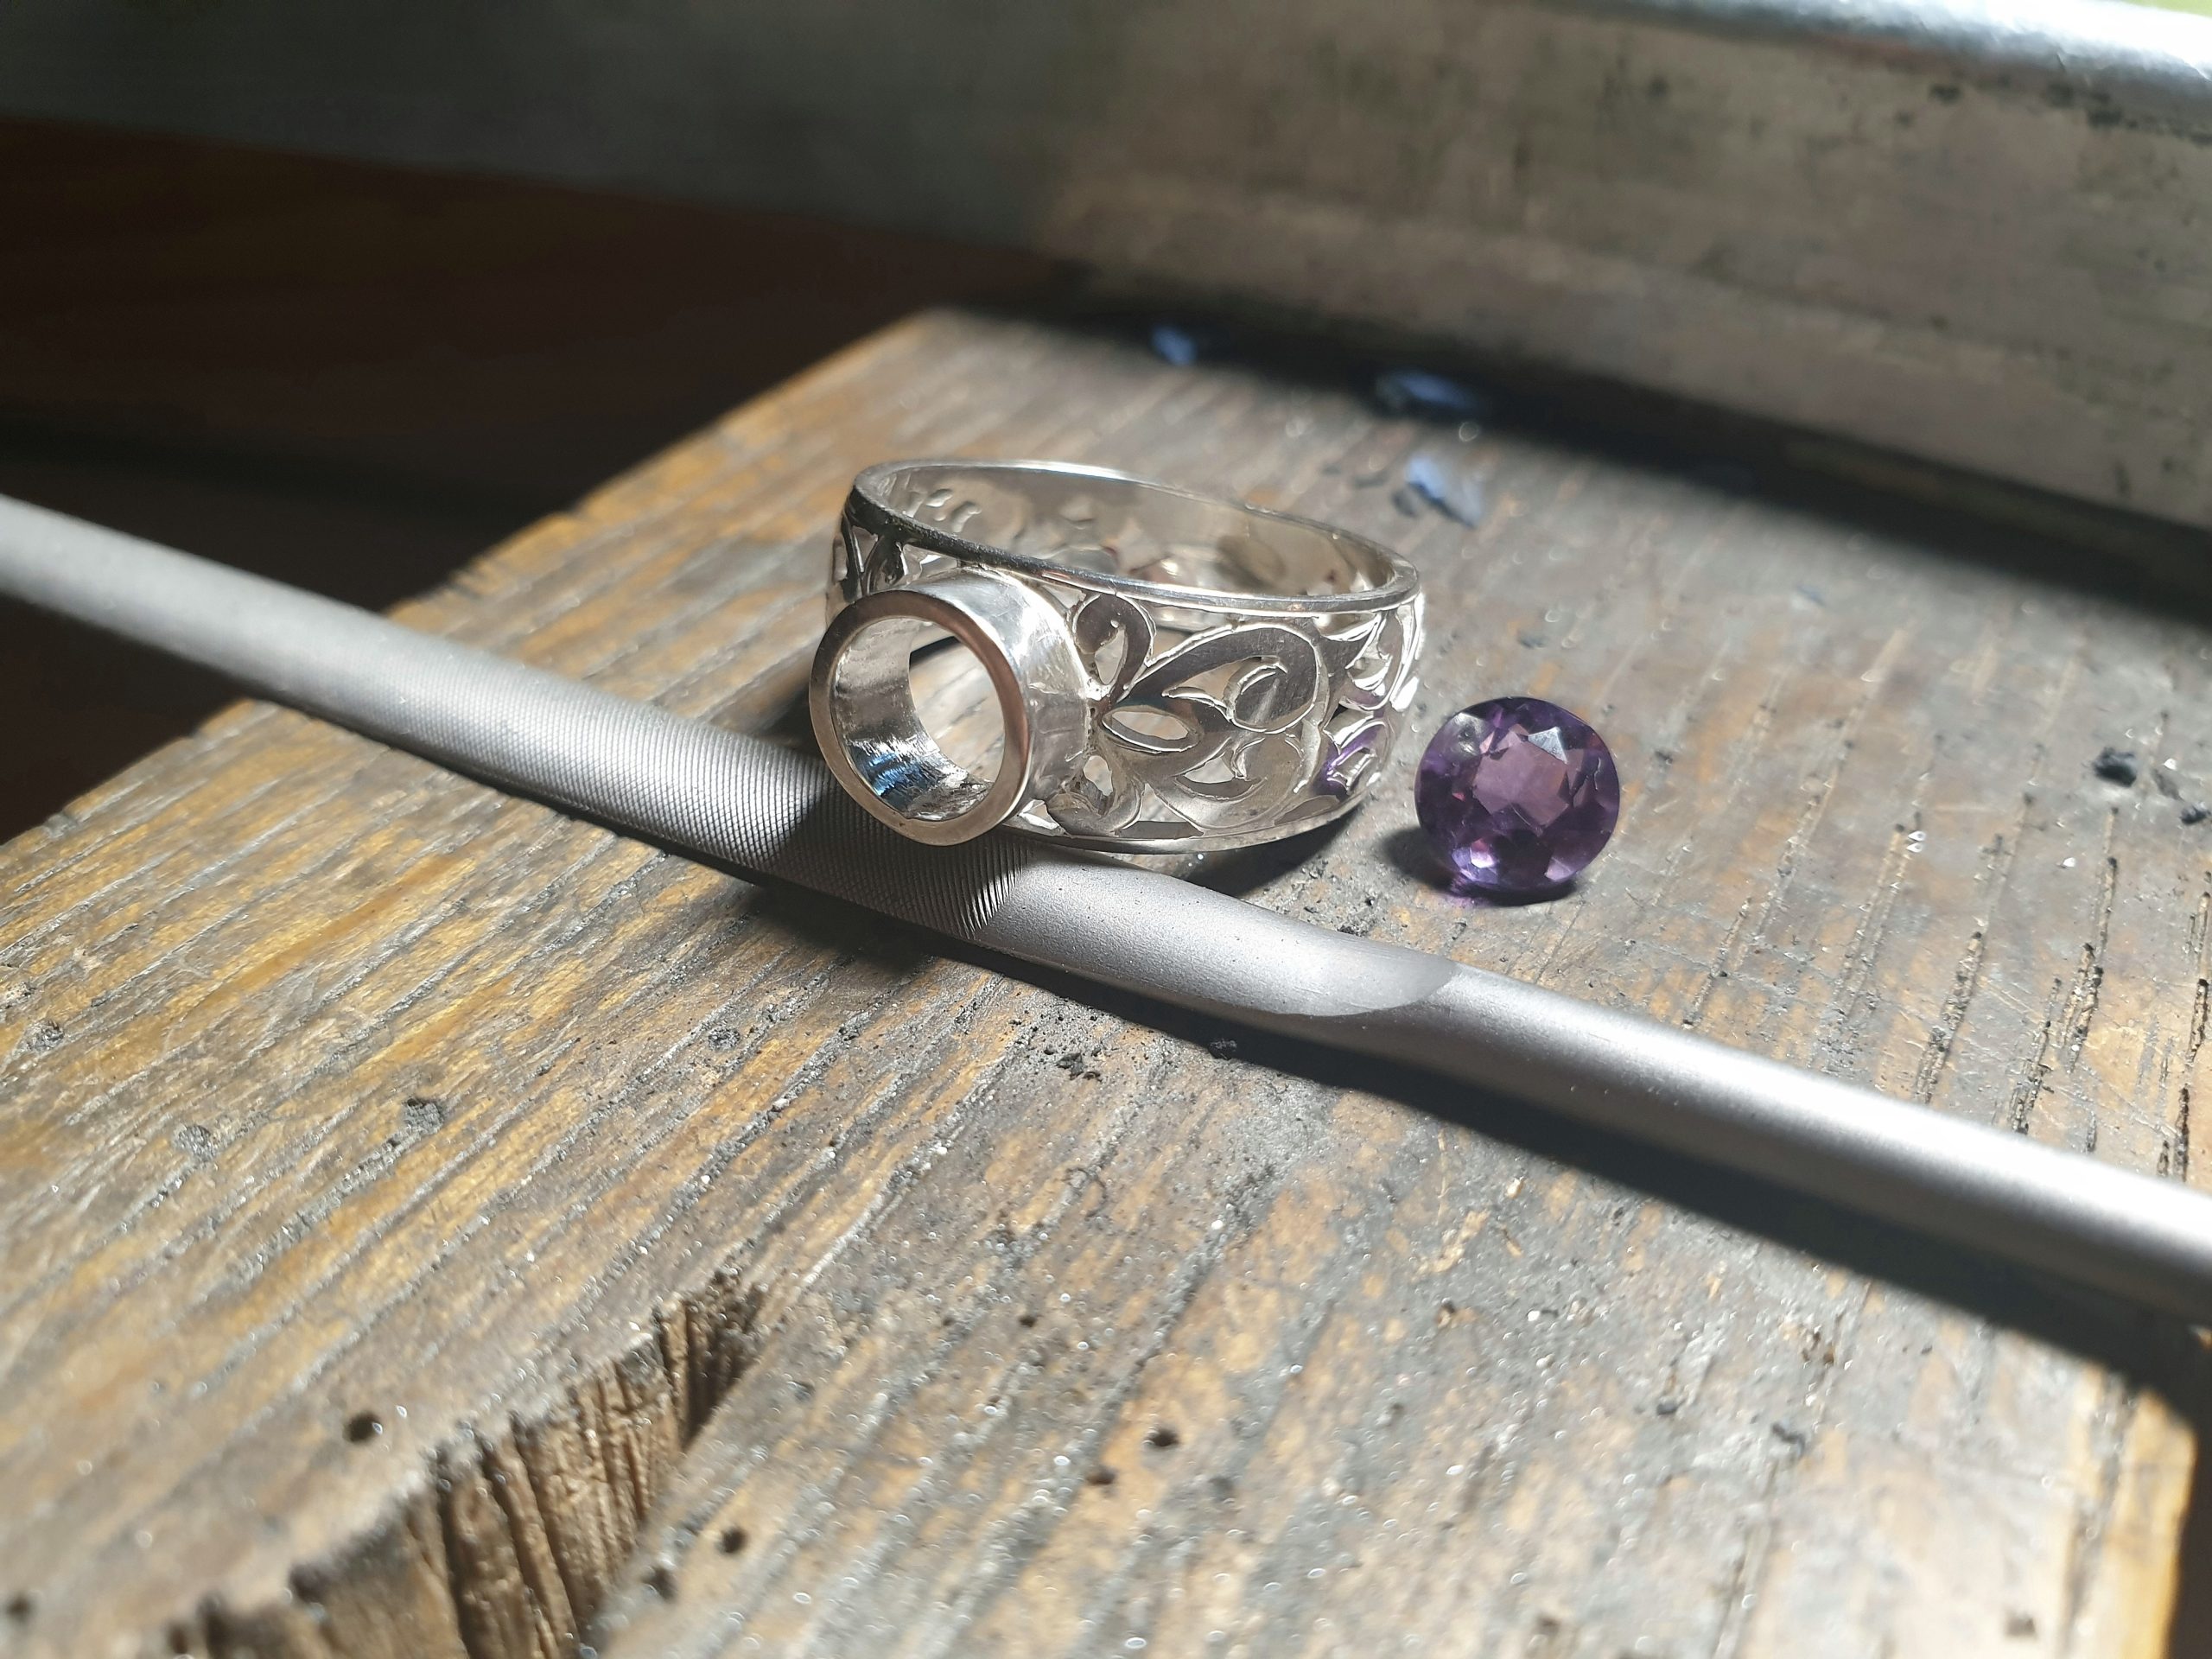
Corso video: come realizzare un anello in stile classico fiorentino / Video course: how to make a ring in classical Florentine style
580,00€
Qui troverete svelati e riuniti passo dopo passo, in un unico corso, in un unico video, tutti i “segreti” dello stile rinascimentale fiorentino: imparerete a disegnare l’ornato fiorentino, disegnerete l’anello, costruirete e salderete l’anello in argento, imparerete il tipico traforo fiorentino e, una volta finito e pulimentato l’anello, imparerete a inciderlo e decorarlo con il bulino, seguendo le principali tecniche fiorentine.
—————————————————————————————————————————————————————————————————————
Here you will find revealed and brought together step by step, in a single course, in a single video, all the “secrets” of the Florentine Renaissance style: you will learn to draw the Florentine ornament, you will draw the ring, you will build and solder the silver ring, you will learn the typical Florentine fretwork and, once finished and polished the ring, you will learn how to engrave and decorate it with the graver, following the main Florentine techniques.
Description
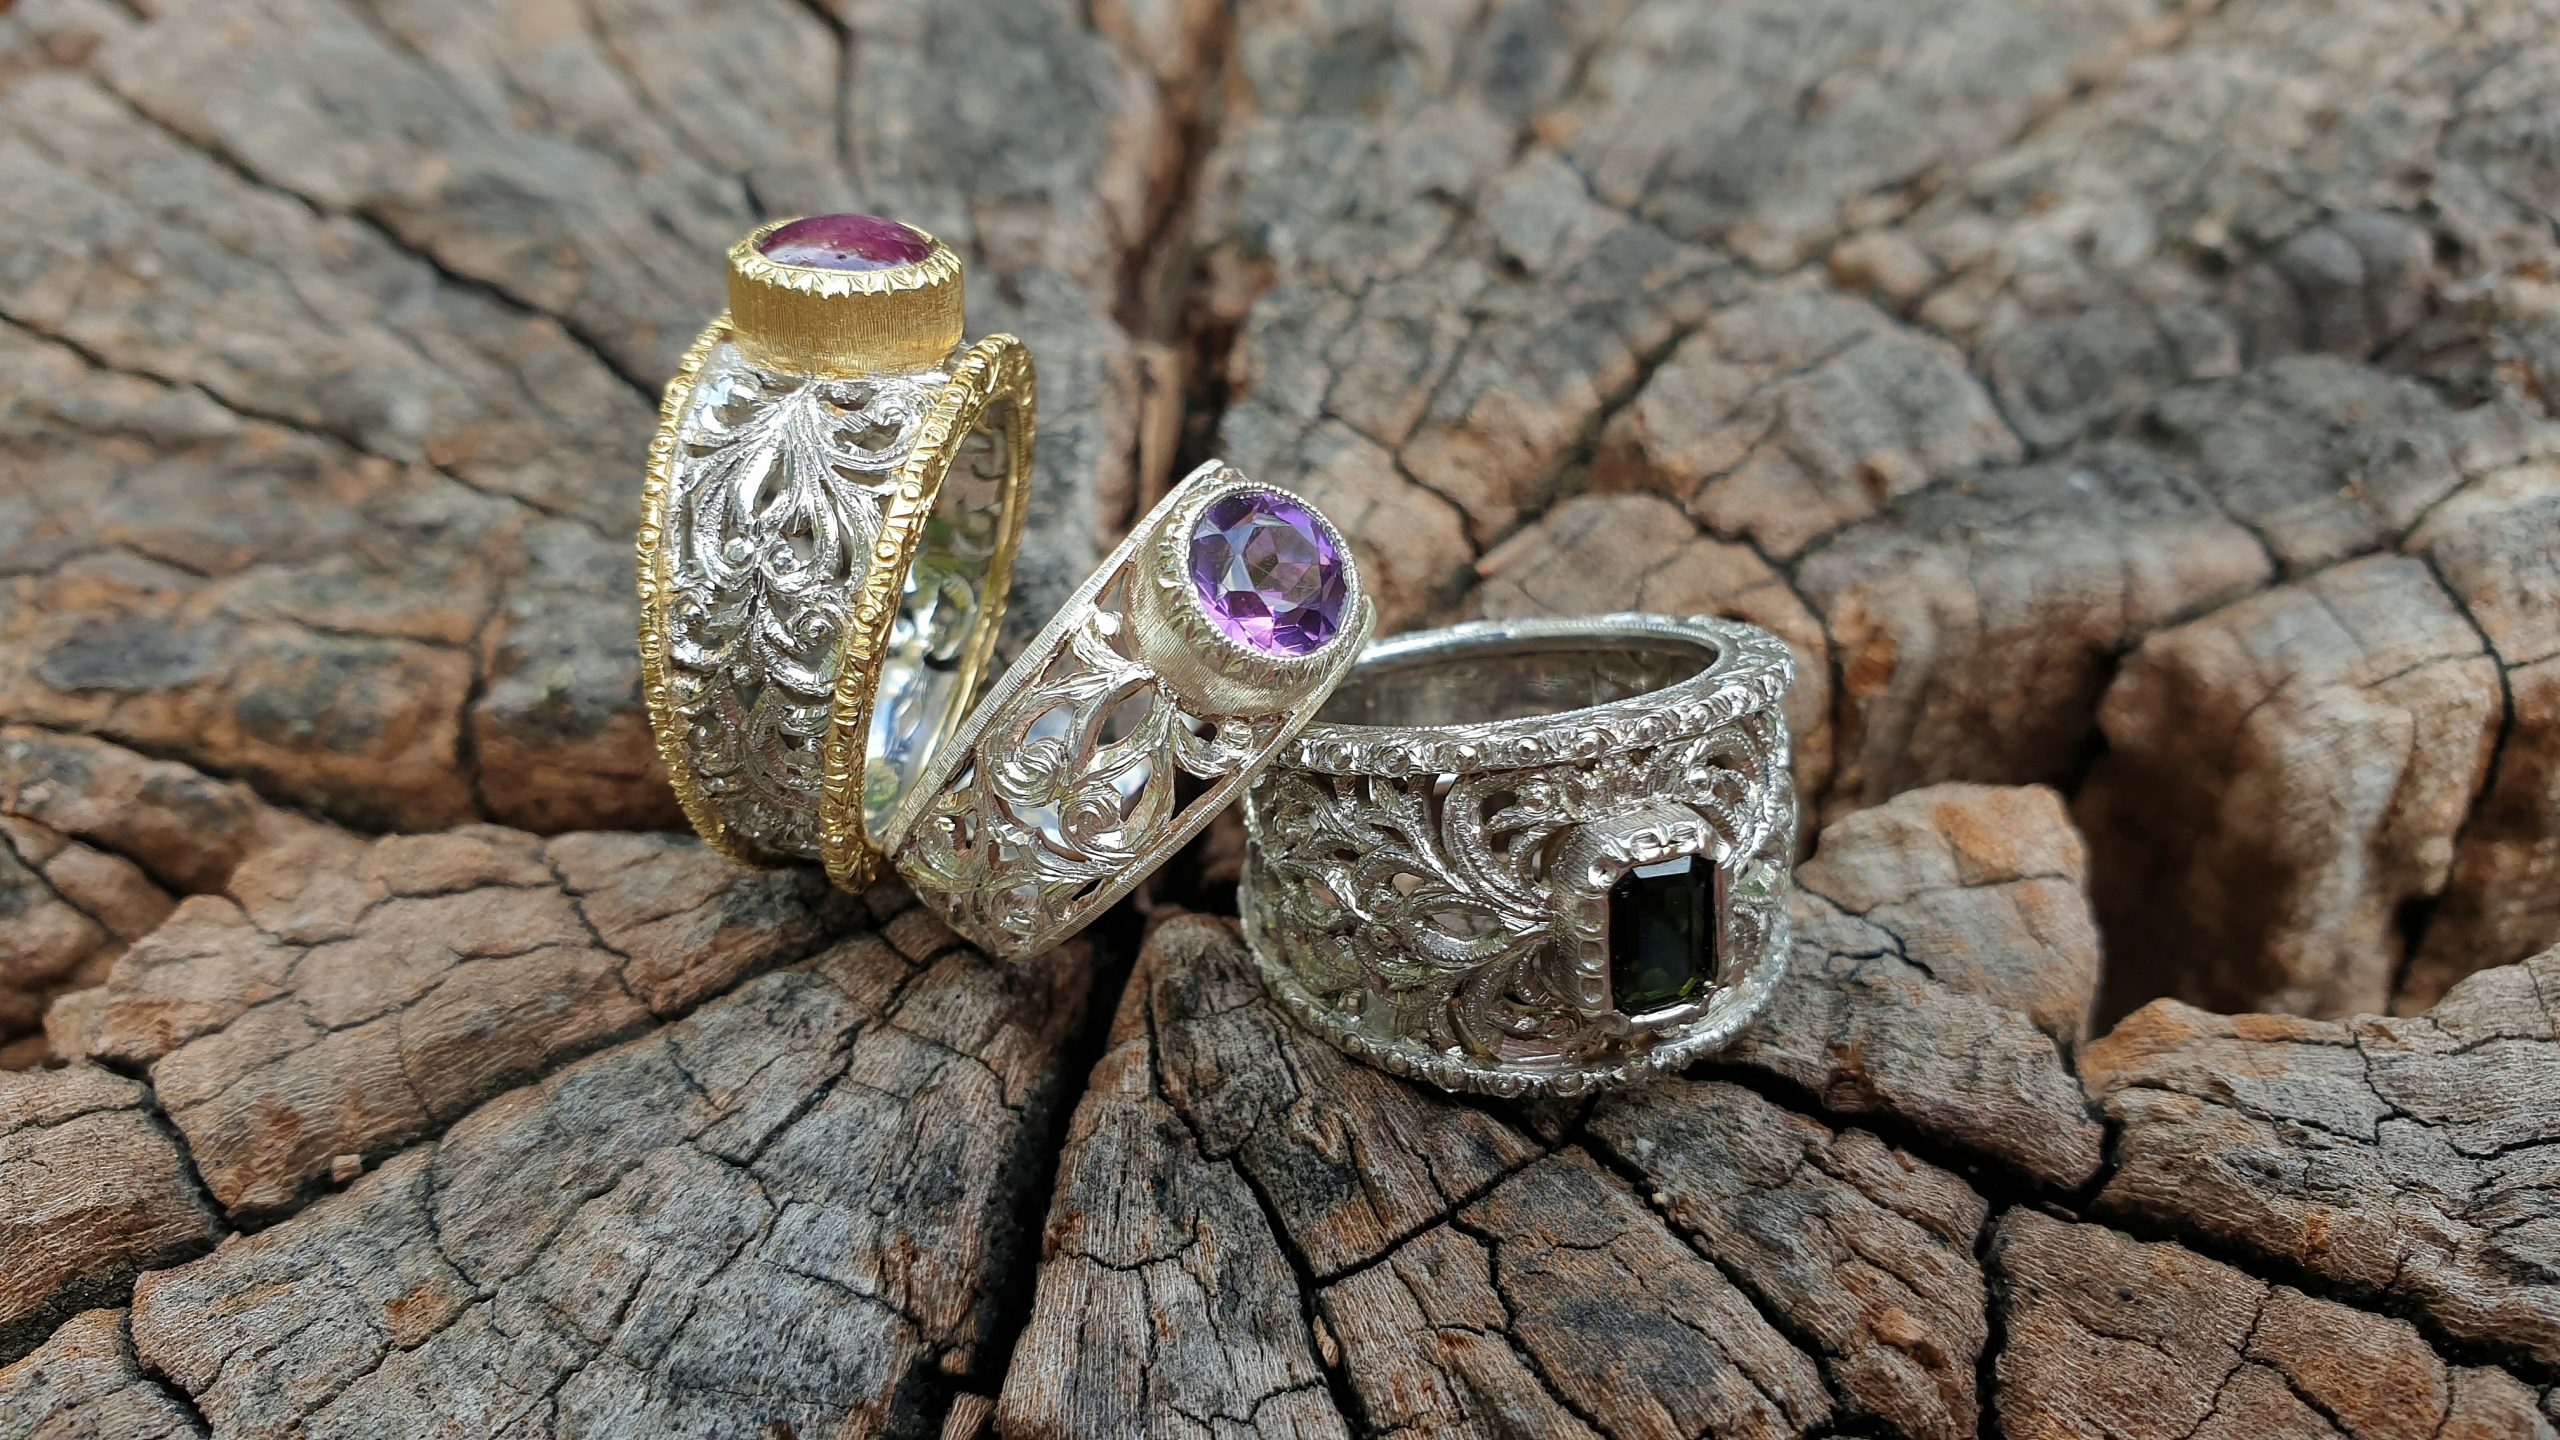
Firenze è da sempre famosa in tutto il mondo per la sua arte orafa e per i suoi gioielli dallo stile inconfondibile, caratterizzati da ornamenti rinascimentali e incisioni a bulino dettagliate ed eleganti.
Seguendo questo corso imparerete a realizzare uno di questi anelli in stile classico fiorentino, partendo dal disegno fino alla sua completa realizzazione e incisione a bulino.
Questo video raccoglie e spiega le principali tecniche, i vari passaggi e i segreti del mestiere che in genere sono gelosamente custoditi nelle botteghe orafe fiorentine e che vengono tramandati da maestro ad apprendista solo con il passaparola.
Questo video è il risultato di molti anni di esperienza personale. Ho voluto riunire in un unico video le informazioni, le conoscenze e le tecniche raccolte in tanti anni da più fonti, attraverso varie scuole e laboratori e da vari maestri, per dare a tutti la possibilità – in qualsiasi parte del mondo si trovino – di poter accedere facilmente a questo sapere. Una conoscenza che sta lentamente scomparendo e per questo voglio continuare a tramandarla affinché non vada perduta.
Qui troverete svelati e riuniti passo dopo passo, in un unico corso, in un unico video, tutti i “segreti” dello stile rinascimentale fiorentino: imparerete a disegnare l’ornato fiorentino, disegnerete l’anello, costruirete e salderete l’anello in argento, imparerete il tipico traforo fiorentino e, una volta finito e pulimentato l’anello, imparerete a inciderlo e decorarlo con il bulino, seguendo le principali tecniche fiorentine.
Il video dura circa 1 ora e mezza e corrisponde a un corso di laboratorio dal vivo di circa 1 settimana. È rivolto a chi già conosce e pratica l’oreficeria e possiede almeno le basi dell’incisione a bulino e una buona padronanza delle principali tecniche di oreficeria; in pratica è adatto sia a uno studente di livello intermedio che avanzato.
Il corso si concentrerà in particolare su tre punti fondamentali, che svilupperemo in modo più approfondito:
1) Imparare a disegnare il cosiddetto ‘ornato fiorentino’, che è un motivo decorativo fatto di linee morbide e sinuose ispirate agli elementi naturali, tipico del Rinascimento fiorentino, che si può trovare ovunque qui a Firenze, come nella pittura, nell’architettura, nei tessuti, nella famosa carta fiorentina e non ultimo nella gioielleria, che è ciò che ci interessa di più!
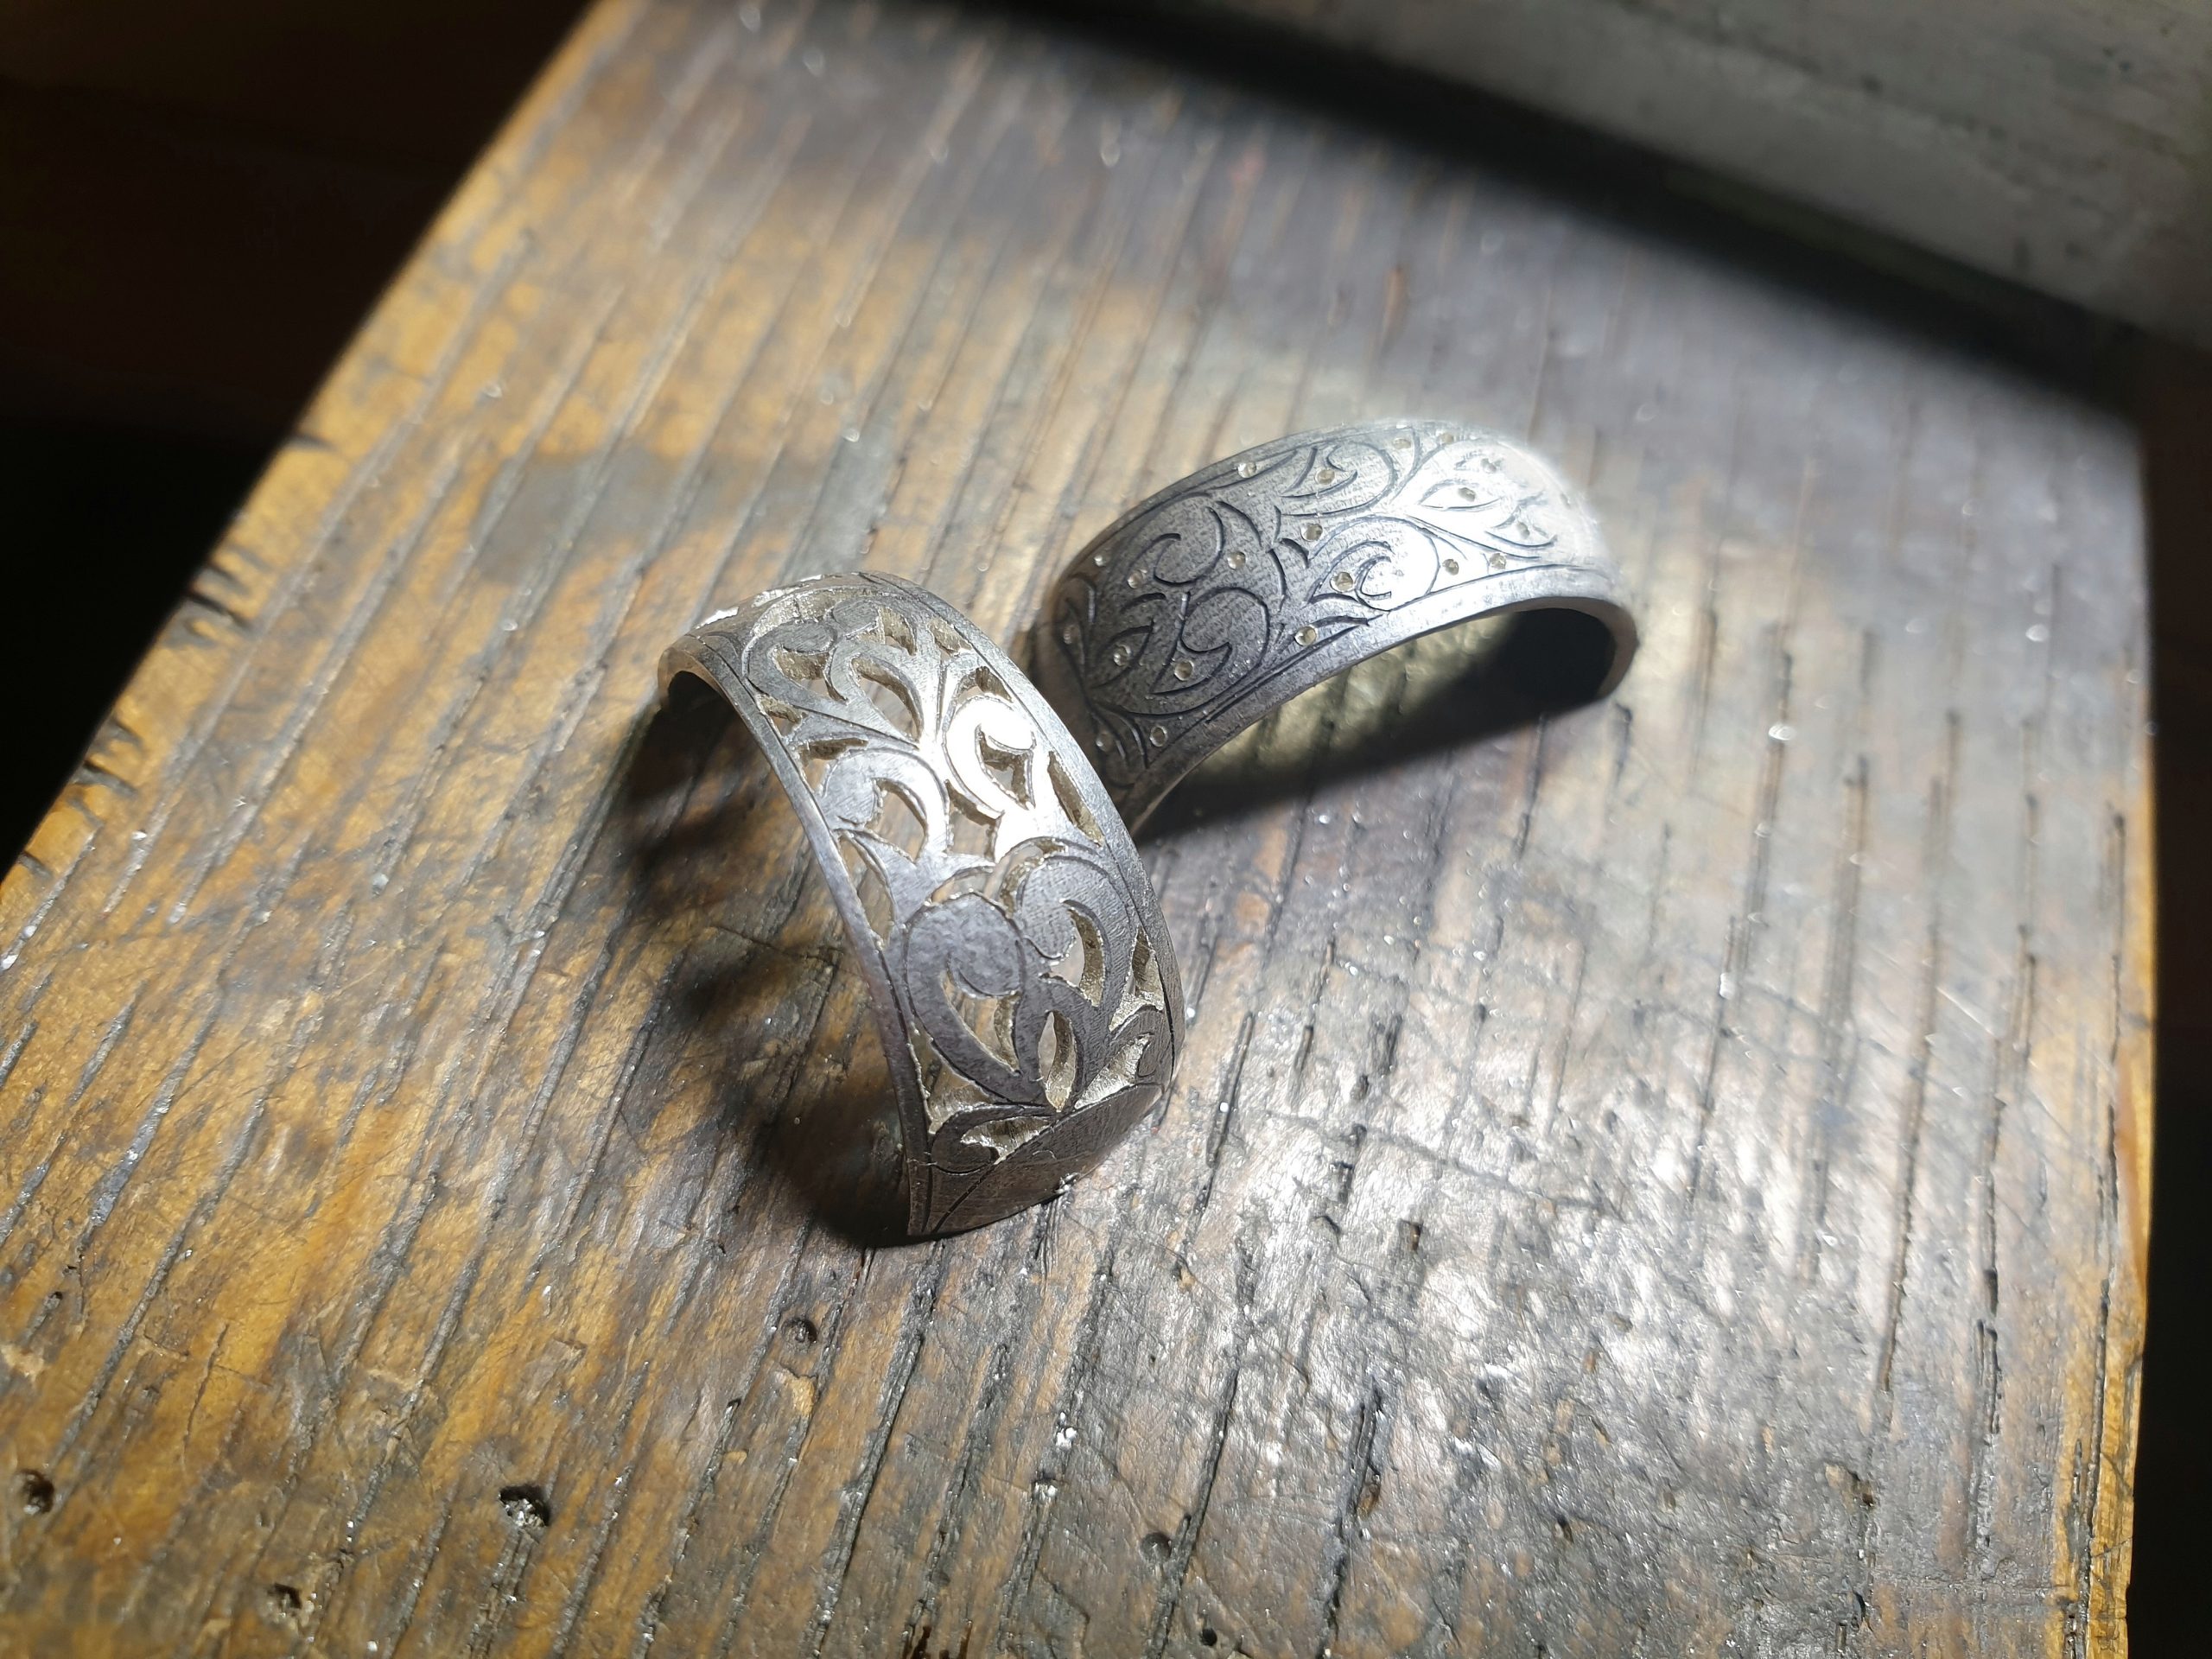
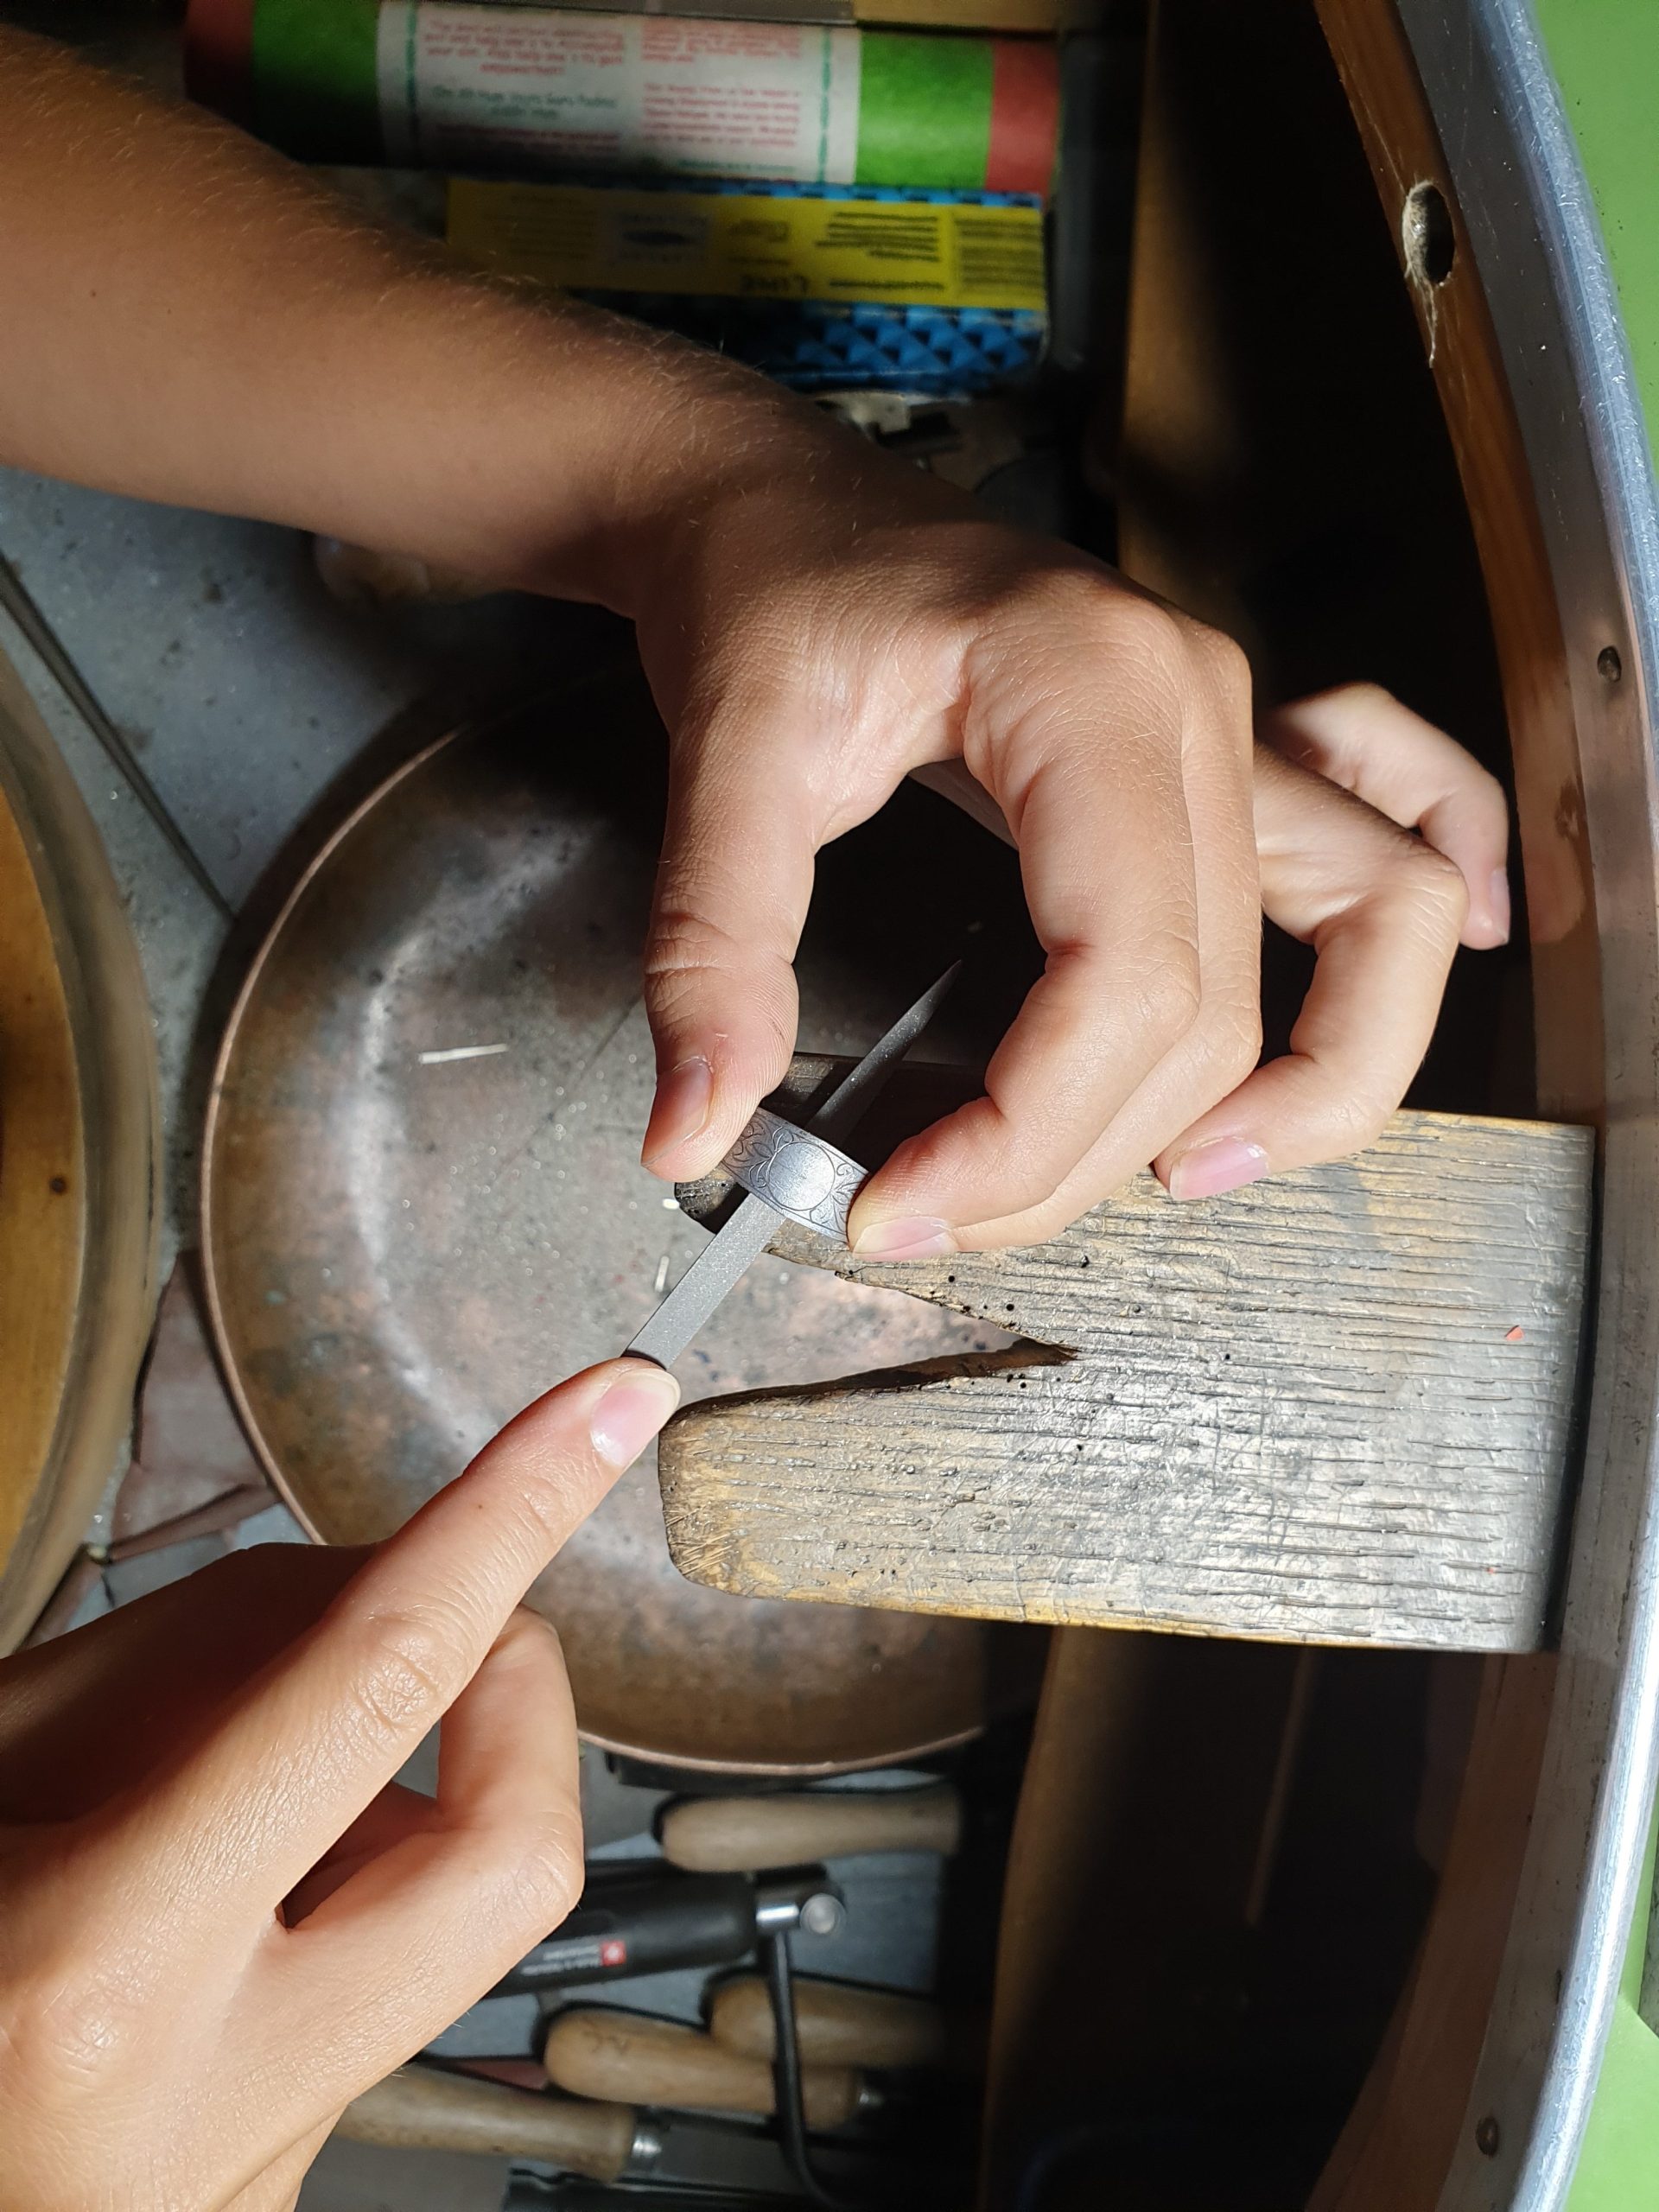
2) Imparare la tecnica tradizionale del traforo fiorentino. Il traforo sarà piuttosto piccolo e quindi non potremo correggerlo in seguito con le lime, quindi questo lavoro richiede precisione e attenzione!
3) Incisione a bulino dell’anello e del castone, che in specifico decoreremo con la tecnica dell’incisione “a seta”, una tecnica molto caratteristica dei gioielli in stile fiorentino che arriva a noi probabilmente dal Rinascimento e che consiste nel ricreare col bulino una “texture” molto speciale che richiama l’aspetto di un tessuto di seta.
NOTA: il video non include l’insegnamento dell’incassatura della pietra nell’anello perché sarebbe necessario un capitolo specifico a parte e questo non è l’obiettivo di questo corso. Se sapete già come incassare le pietre, allora potrete farlo da soli. In caso contrario, potete consegnare l’anello a un incassatore che svolgerà questa parte del lavoro per voi. In ogni caso, vi mostrerò un breve video, mentre incasso la mia pietra, con le fasi principali, in modo che possiate avere un’idea di come si fa!
Il video è suddiviso nei seguenti capitoli:
– la realizzazione del castone
– il disegno del progetto dell’anello
– come disegnare l’ornato fiorentino
– trasferire il disegno dalla carta alla lastra d’argento
– segnare le linee del disegno con il bulino
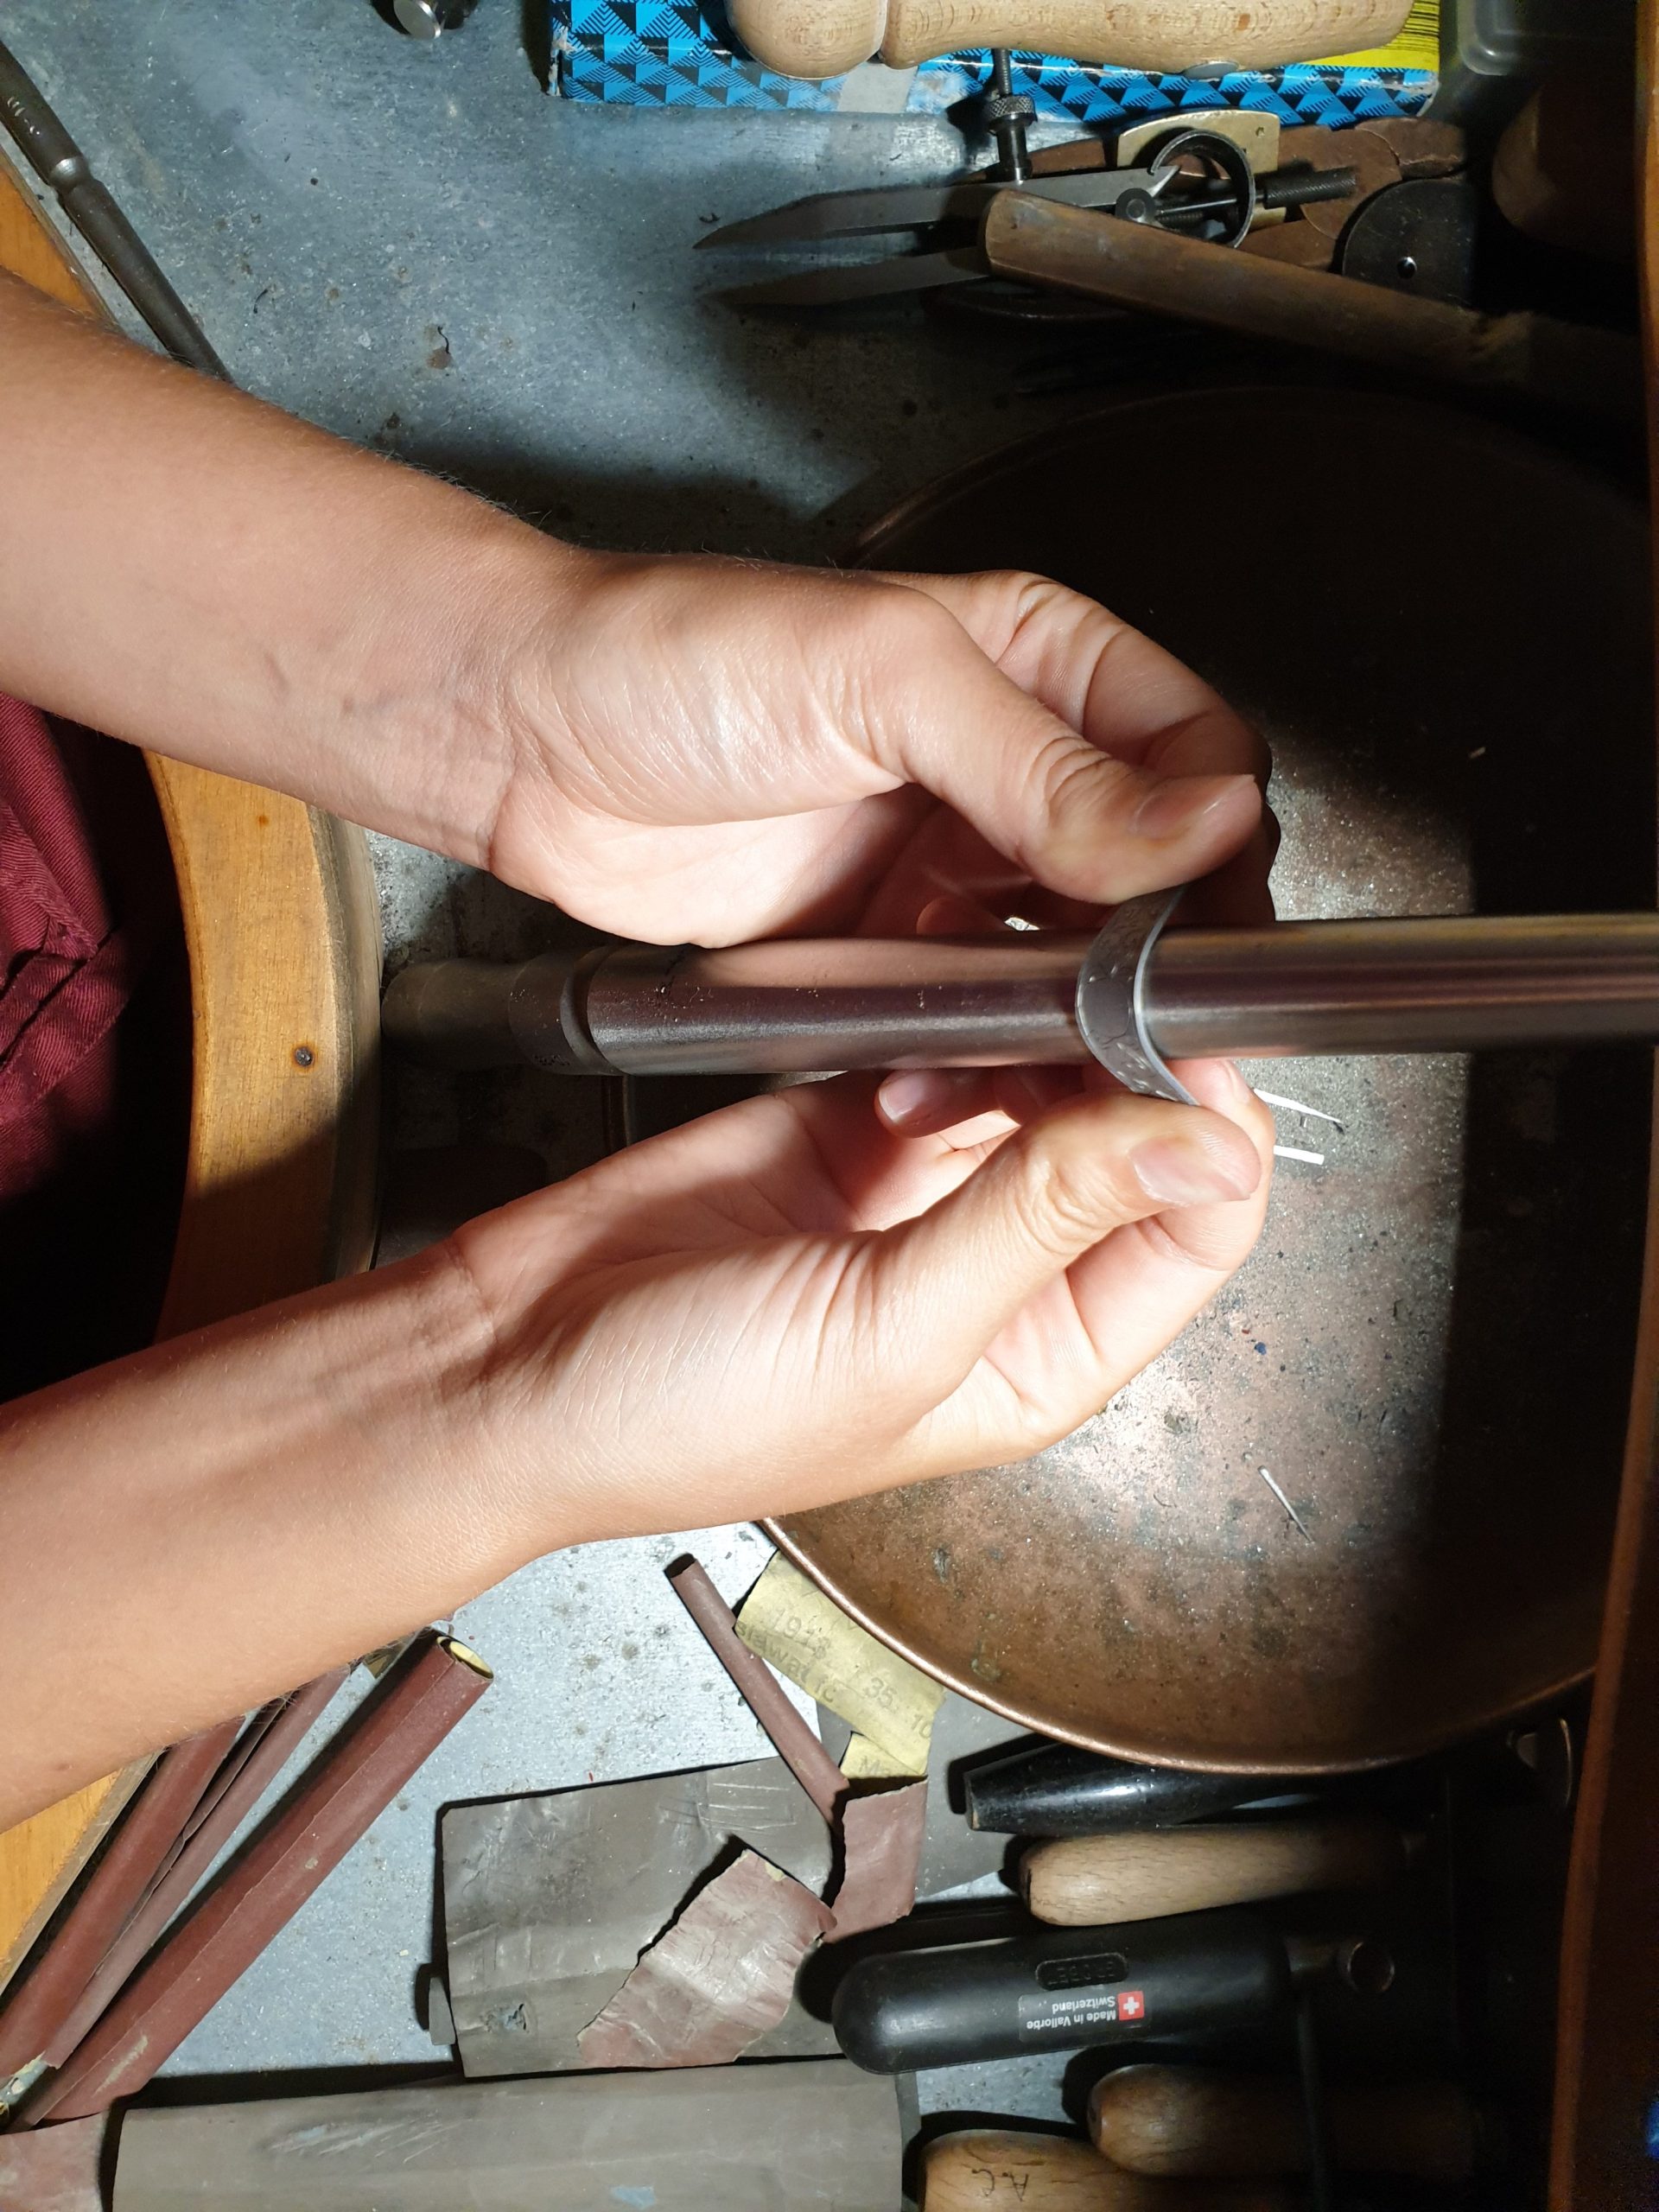
– mettere in tondo, saldare e stozzare l’anello
– la tecnica del traforo fiorentino
– l’incisione dell’anello
– l’incastonatura della pietra (solo una breve dimostrazione)
– incisione a seta del castone
Oltre al corso avrete un file di documentazione in Pdf che potrete scaricare direttamente sul vostro PC:
– Un elenco degli strumenti e dei materiali necessari per iniziare il corso
– Il disegno del progetto dell’anello con tutte le relative misure
– I disegni e le relative spiegazioni dell’ornato fiorentino per imparare a disegnarlo correttamente e ad acquisire maggiore familiarità con questo tipo di stile rinascimentale
– Schizzi e appunti per aiutarvi nel processo di incisione dell’anello
DOMANDE E RISPOSTE:
– A chi è rivolto il corso? Sono richiesti dei prerequisiti?
Sì, il corso non è per principianti. Il corso è rivolto a studenti di oreficeria di livello intermedio o avanzato, e a orafi che vogliono conoscere lo stile classico fiorentino.
Prerequisiti: è necessario conoscere almeno un po’ l’incisione a bulino su superfici piane e curve e avere una certa esperienza nell’esecuzione del traforo.
– Servono attrezzi speciali?
No, non servono attrezzi particolari, a parte un banco da lavoro e i principali strumenti che si usano normalmente per creare un anello (la torcia per saldare, un archetto da traforo, martello, lime, ecc.), oltre a un bulino (e, se possibile ma non indispensabile, la cosiddetta ciappola “rigata” per l’incisione della seta fiorentina), una pietra rotonda sfaccettata e una lastra d’argento (ma di questo vi parlerò più dettagliatamente durante il corso).
– Cosa avrò “in mano” alla fine del corso?
Alla fine del corso avrete tra le mani un anello in stile fiorentino completamente finito, inciso e con una pietra incastonata al centro.
L’obiettivo del corso è quello di fornire una solida base e gli strumenti necessari per poter creare in seguito i propri gioielli in stile fiorentino utilizzando la tecnica appena appresa e arricchendola con il proprio stile personale e la propria creatività.
– In che lingua si tiene il corso?
In inglese
– Quanto dura il video?
Dura circa 1 ora e mezza, che corrisponde a un laboratorio dal vivo di circa 5-7 giorni.
– Una volta acquistato il corso ha una scadenza?
Avrai accesso al video per 5 mesi dal momento dell’acquisto, quindi potrai rivedere il video quante volte vorrai durante questo termine di tempo.
Il corso non può essere riprodotto, riutilizzato o copiato perché è protetto da copyright e può essere utilizzato solo per uso personale. Il corso non può essere utilizzato per dimostrazioni o per essere condiviso con più persone o durante le lezioni in aula.
———————————————————————————————————————————————————————————————————————————-
Florence has always been famous all over the world for its goldsmith’s art and its jewels with an unmistakable style, characterized by openwork renaissance ornaments and detailed and elegant hand engravings.
Take this course with me and you will learn how to make one of these rings in classic Florentine style, starting from the design up to its complete realization and hand engraving.
This video brings together and explains the main techniques, the various steps and the secrets of the craft which are generally jealously guarded in Florentine goldsmiths’ workshops and which are handed down from master to apprentice only by word of mouth.
This video is the result of many years of personal experience. I wanted to bring together in a single video information, knowledge and techniques collected over many years from multiple sources, through various schools and workshops and from various masters to give everyone the possibility – no matter where in the world they are – to be able to easily access to this knowledge. A knowledge that is slowly disappearing and for this reason I want to continue handing it down so that it is not lost.
Here you will find revealed and brought together step by step, in a single course, in a single video, all the “secrets” of the Florentine Renaissance style: you will learn to draw the Florentine ornament, you will draw the ring, you will build and solder the silver ring, you will learn the typical Florentine fretwork and, once finished and polished the ring, you will learn how to engrave and decorate it with the graver, following the main Florentine techniques.
The video lasts about 1 hour and a half and corresponds to a live laboratory course of about 1 week. It is aimed at those who already know and practice jewelry making and who have at least the basics of hand engraving and good control of the main jewelry making techniques, in practice it is suitable both for an intermediate and advanced level student.
The course will focus in particular on three fundamental points, which we will develop in more detail:
-
Learn how to draw the so called ‘ornato fiorentino’, Florentine ornate, which is a decorative motif made of soft and curvy lines inspired by natural elements, typical of the Florentine Renaissance, which can be found everywhere here in Florence, such as in painting, architecture, fabrics, the famous Florentine paper and least but not last in jewelry, which is what interests us the most!
-
Learn how to do the traditional Florentine fretwork technique which we will do directly onto the domed shaped ring. The fretwork will be quite small and so we will not be able to correct it later with the files, so this work requires precision and attention and we will use our saw blade to cut and also to “file” the fretwork!
-
Hand engraving of the ring and of the bezel, which we will specifically decorate with the “silk” engraving technique, a very characteristic technique of Florentine-style jewels that probably comes to us from the Renaissance and which consists in recreating a very special texture that recalls the appearance of a silk fabric.
NOTE: the video doesn’t include the teaching of stone setting because a specific learning would be needed and this is not the aim of this course. If you already know how to set stones, wonderful, you will set the stone by yourself. If not, don’t worry, you can give your ring to a stone setter and he will set the stone for you. Anyway I will show you a brief video, while I am setting my stone, with the main steps of the setting so that you can have an idea on how it’s being done!
The video is divided in the following chapters:
-
the realization of the bezel
-
the drawing of the ring project
-
how to design the Florentine ornate
-
transferring the design from paper to the silver sheet
-
passing on the lines of our design with the graver
-
bending, soldering and doming the ring
-
the Florentine style fretwork technique
-
engraving the ring
-
the setting of the stone (only a brief demo)
-
silk engraving of the bezel
In addition to the course you will have a documentation file in pdf that you can download directly on your device:
-
A list of the tools and materials necessary to start the course
-
The design of the ring project with all the relative measures
-
The drawings and relative explanation of the Florentine ornaments to teach you how to draw them correctly and get more familiar with this Renaissance style ornate
-
Sketches and notes to help you with the ring engraving process
Q&A:
– Who is the course for? Are there any pre-requisites required?
Yes. The course is not for beginners. This course is aimed at jewelry-making students with intermediate skill level and higher skills, and to goldsmiths who want to get to know the typical Florentine goldsmithing.
Prerequisites: it is necessary to know at least a bit how to engrave on flat and curved surfaces and have some experience in doing fretwork (openwork and piercing).
– Do you need special tools?
No, you don’t need any extra special tools apart from a working bench and the main tools that you normally use to create a ring (a soldering torch, a saw frame with saw blades, a hammer, files, a mandrel etc…), plus an onglet graver (and, if possible but it is not indispensable, a “rigata” graver for the Florentine silk texture), a round faceted stone and a silver sheet (but about this I will tell you more in detail during our course).
– What will I have “in my hands” by the end of this course?
At the end of this course you will have in your hands a completely finished Florentine style ring, engraved and with a stone set in the middle.
The aim of the course is to give you a solid foundation and the necessary tools to be able to create later on your own Florentine-style jewelry by using the newly learned technique enriching it with your own personal style and creativity.
– What language is the course held in?
In English
– How long does the video last?
It lasts about 1 hour and a half, that corresponds to a life laboratory of about 5-7 days
– Does the course expire once I purchase it?
You will have access to the video for 5 months from the time of purchase, so you can watch the video as many times as you like during this period.
The course may not be reproduced, reused or copied as it is protected by copyright and may be used only for personal use. This course may not be used for demonstrations or to be shared with more than one person or during classroom lectures.

